
[Tutorial] Adobe Premiere Pro Best Render Settings for YouTube YouTube
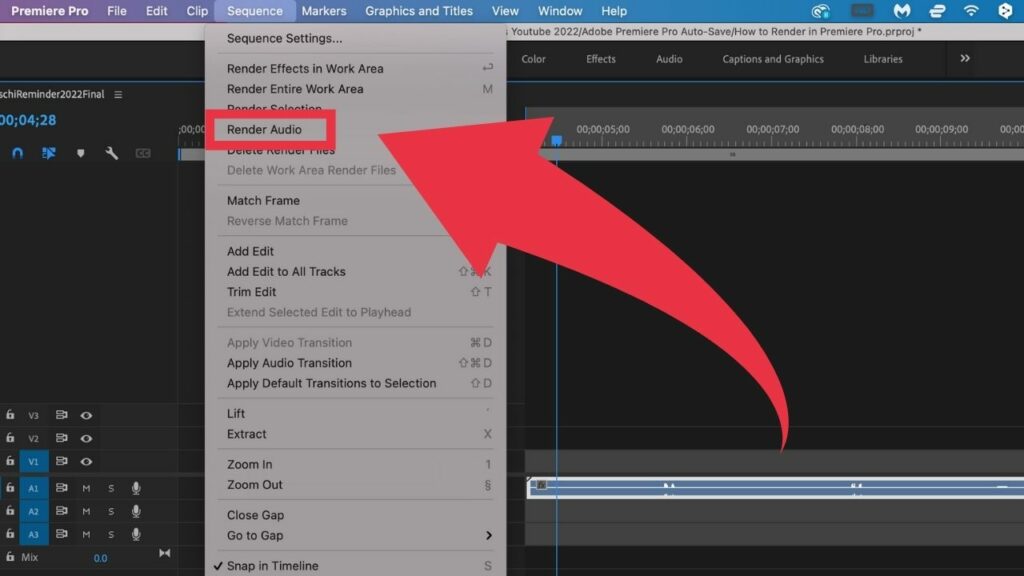
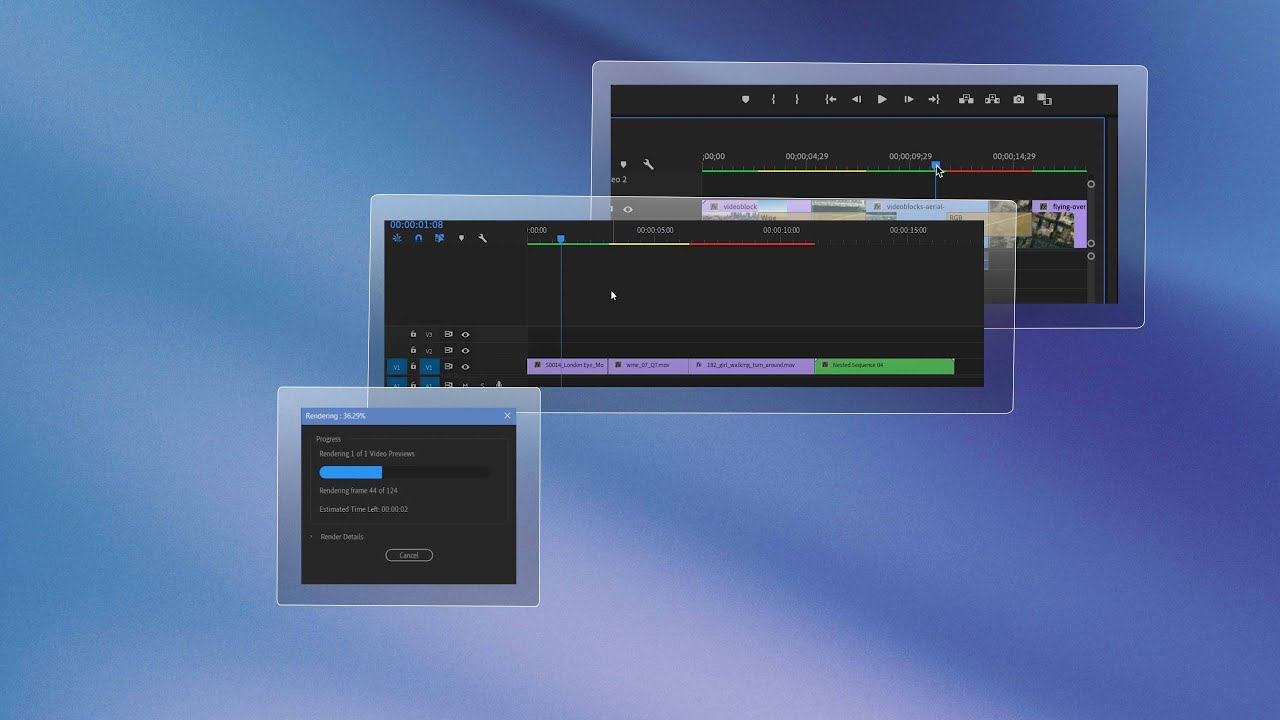
1. Define work area section. 2. Now, render the area using the available options. What Does Rendering a Preview Mean? Rendering a preview in Adobe Premiere Pro is the process of generating a low-resolution video file of your project which can be used to quickly review your timeline edits without needing to export a full-resolution video file.
How to render in Adobe Premiere Pro CS5 YouTube
Render and replace media Last updated on 27 Mar 2023 Premiere Pro attempts to play back all sequences, clips, effects, transitions, titles, and any other unrendered elements in real time without first rendering them. However, it's sometimes necessary to render media files, especially VFX-heavy sequences, to enable smooth playback.

10 Tips to Improve Playback in Adobe Premiere Pro — Premiere Bro
Position the playhead, and press Alt+] (Windows) or Option+] (Mac OS) to set the end of the work area. Double-click the work area bar to resize it to either the width of the time ruler, or the length of the entire sequence, whichever is shorter. To define the whole sequence as the work area, the whole sequence must be visible in the Timeline panel.
Top 49+ imagen premiere pro export with transparent background
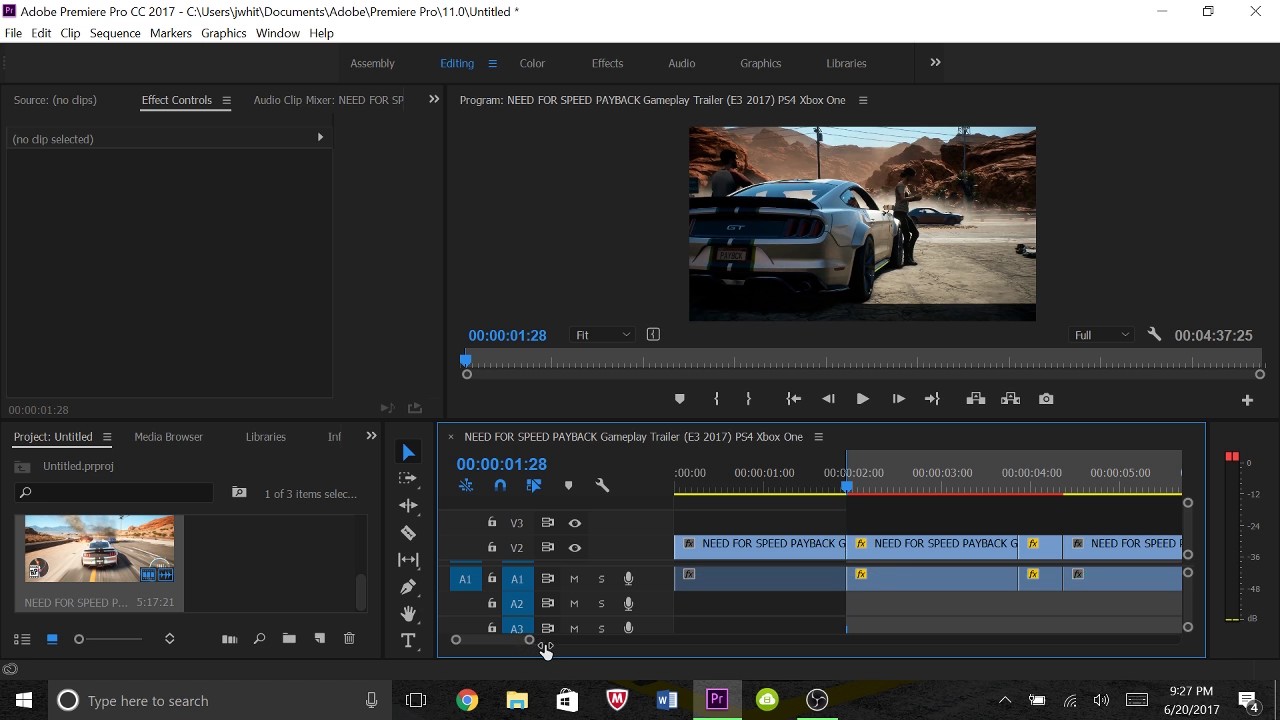
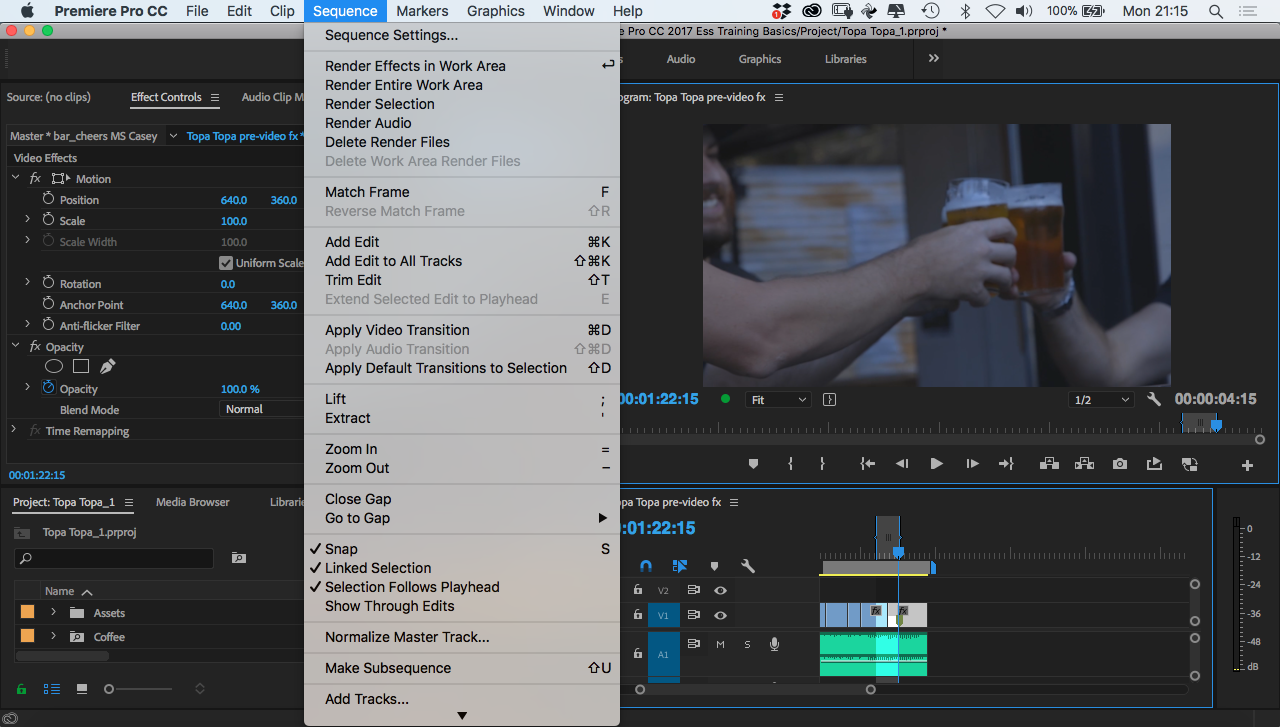
1. Select a Section of Footage to Render With our footage added to Premiere Pro, notice that I've added a few effects in the Timeline. The Timeline is found below the video preview section, which itself is called the Program Monitor. We'll use this footage and these added effects to demonstrate how to render in Premiere Pro.

How To Render Premiere Pro Complete Howto Wikies
A tutorial on how to render video in Premiere Pro 2020.Get 70% off a month of Envato Elements or 50% off an entire year with my link: https://1.envato.market.
The Ultimate Guide to Premiere Pro's Render Quality Settings
The fastest and easiest way is to select the area you want to render with the in and out point on your timeline, or you can choose to render the whole sequence, which will not require marking an in and out point. Then click on the Enter Key, then you will see your sequence begin the rendering process.
How to Render in Premiere Pro — The Complete Guide
Move the play head to the end of the section, then press O to mark it out or click Alt+] or Option+]. Do this to both the media viewer and timeline, and you will see the selection highlighted after adding the in and out points. After defining your work area, it's time to render your video.
Adobe Premiere Pro CC Best 1080p Render Settings Tutorial 10 YouTube
Over 1M+ Downloads. Rated 5 Stars. Presets, Actions, Overlays, LUTS, Template, & More. Exclusive LUTs Package Works Out of the Box with a Variety of Video Editing Software.
How To Render Premiere Pro Complete Howto Wikies
To define the area you want to render, place your playhead at the beginning of the section and press I to mark the in point (you can also use Alt+ [ or Option+ [ ). Move the player head to the end of the section and press O to mark out (you can also use Alt+] or Option+] ) .
Best Render Setting in Premiere Pro CC (2017) YouTube
Rendering in Premiere Pro is the process of creating a final video output from a sequence of edited clips, effects, and transitions. This involves encoding the video and audio data in a format suitable for playback on various devices.

Adobe Premiere Pro Render / Adobe Premiere Pro Tutorial, Basics and
Learn how to render in Premiere Pro. How to render in Premiere Pro (step-by-step) So what does rendering do in Premiere Pro? Rendering creates a playback preview clip. This is important when working with complex projects that include footage or dramatic effects. Do I need to render before exporting in Premiere Pro?
Multiple Render in Premiere Pro
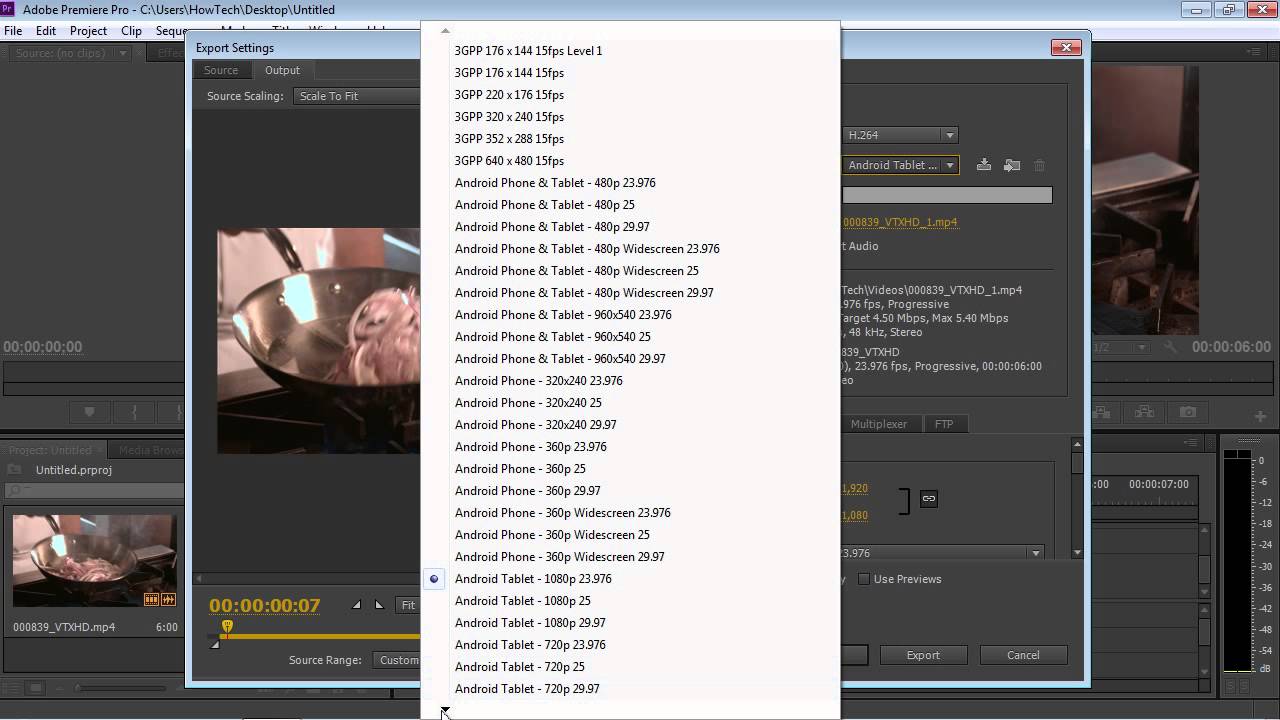
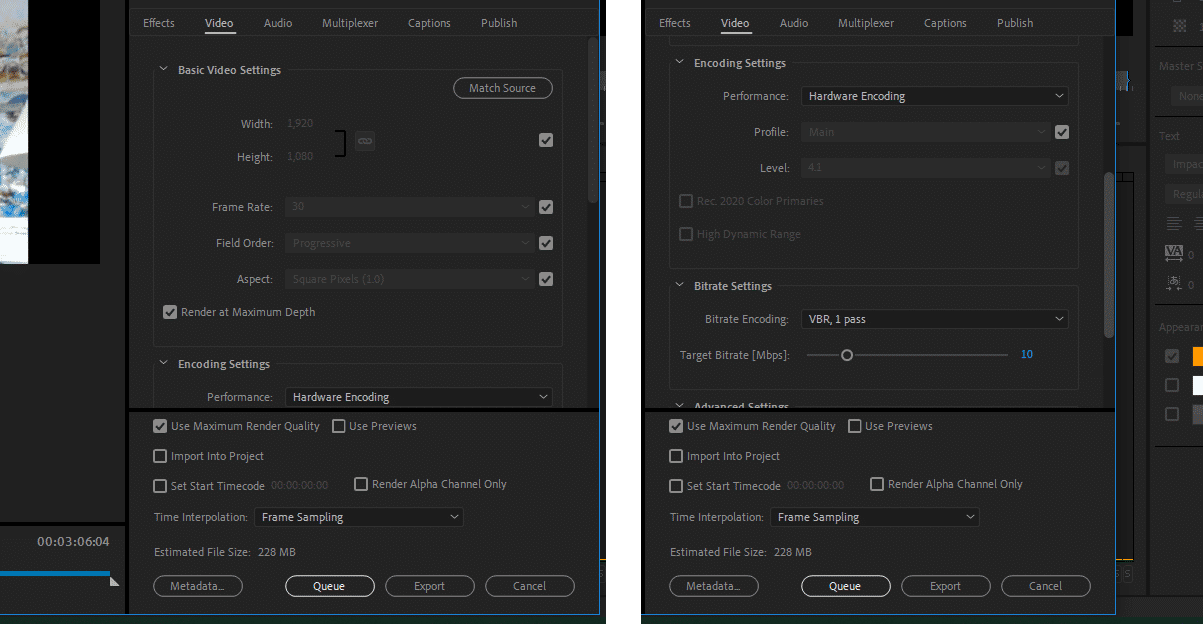
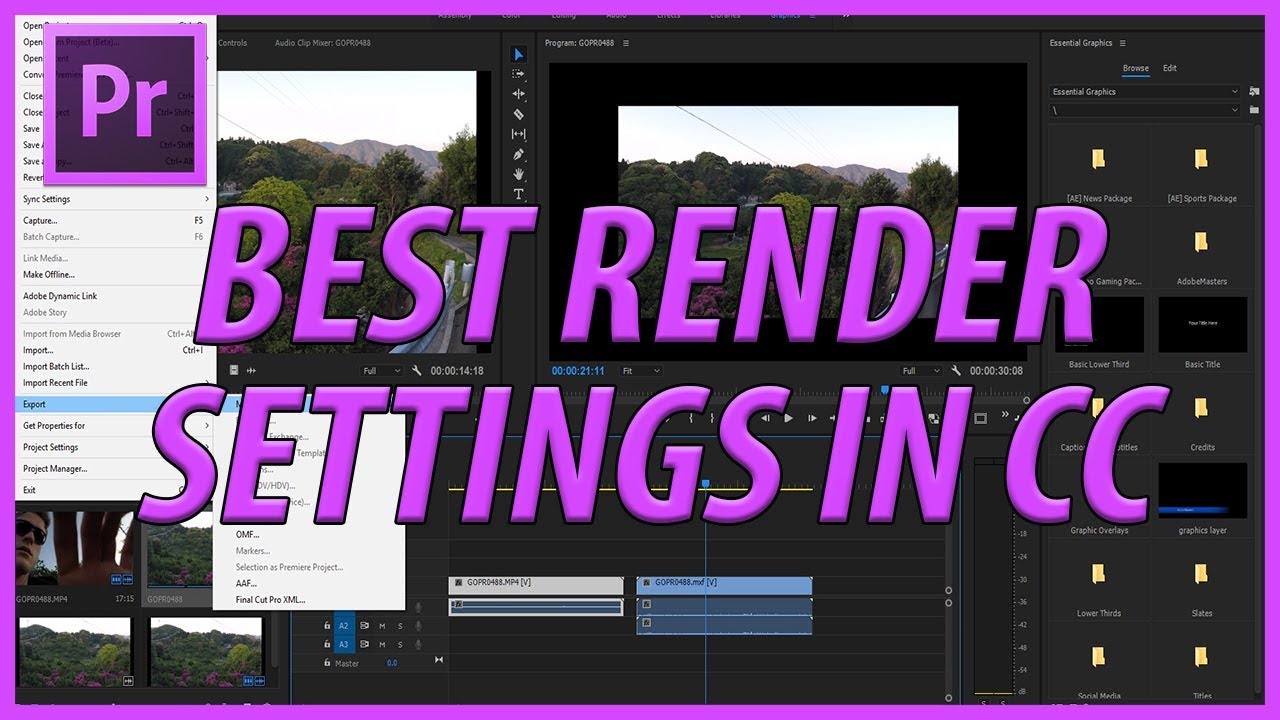
To export in Adobe Premiere Pro choose File > Export > Media from the menu. You'll then be able to adjust your settings, including the file size and quality of the film you're exporting. Export Settings Here, you can change settings for the video and audio before exporting. The best export settings for YouTube are: Format : H.264
How to render in premiere pro hohpaha
Adjust your playback settings Yep, as simple as that. Adjust your playback settings to a lot less than you currently have it set to. Maybe try ¼ or and ⅛ - this will immediately increase the rendering speed and allow you to watch back your latest edit quickly, smoothly and efficiently.
How to Render in Premiere Pro? Complete Tutorial
0:00 / 5:49 How To Render In Premiere Pro - Premiere Pro Render Motion Array Tutorials 421K subscribers Subscribe Subscribed 7.8K Share 642K views 5 years ago Premiere Pro Basics Tutorials.
How To Render In Premiere Pro Premiere Pro Render YouTube
Render Videos in Premiere Pro with a Shortcut Press the letter "M" on your keyboard to render the whole work area. If you would just like to render a selection as defined by Mark In and Mark Out points, you can also do that, but you will first have to define your own shortcut for that.
Doctrine Elevated Uncle or Mister adobe premiere pro render in to out
In this short Adobe Premiere Pro 2019 tutorial we will show you how to easily Render Export and Save a video in Premiere Pro CC 2018 ( this will also work on Premiere CC 2018 and CC ) for.